

Extensions are a great way to change up a look without having to make a major commitment. But people are often put off by how much extensions tend to cost. Even sew-ins done with cheaper wefts tend to be pretty expensive.
If you’ve got clients who want to try extensions that don’t break the bank, tape-in extensions are the way to go. But tape-in extensions are still considered to be pretty new, so not everyone knows how to install them.
Maybe you’ve been in the stylist game long enough that you never had the chance to learn how to do tape-ins. Maybe you just need a quick refresher on how it’s done. Either way, we’ve got you covered.
To start with, let’s just give a quick explanation as to how tape-in extensions work.
- The process is done by sandwiching the natural hair between two wefts that have been prepared with Beautify tape.
- This makes a stronger bond with the extensions, allowing them to last longer.
Of course, it has a few more steps than just that.
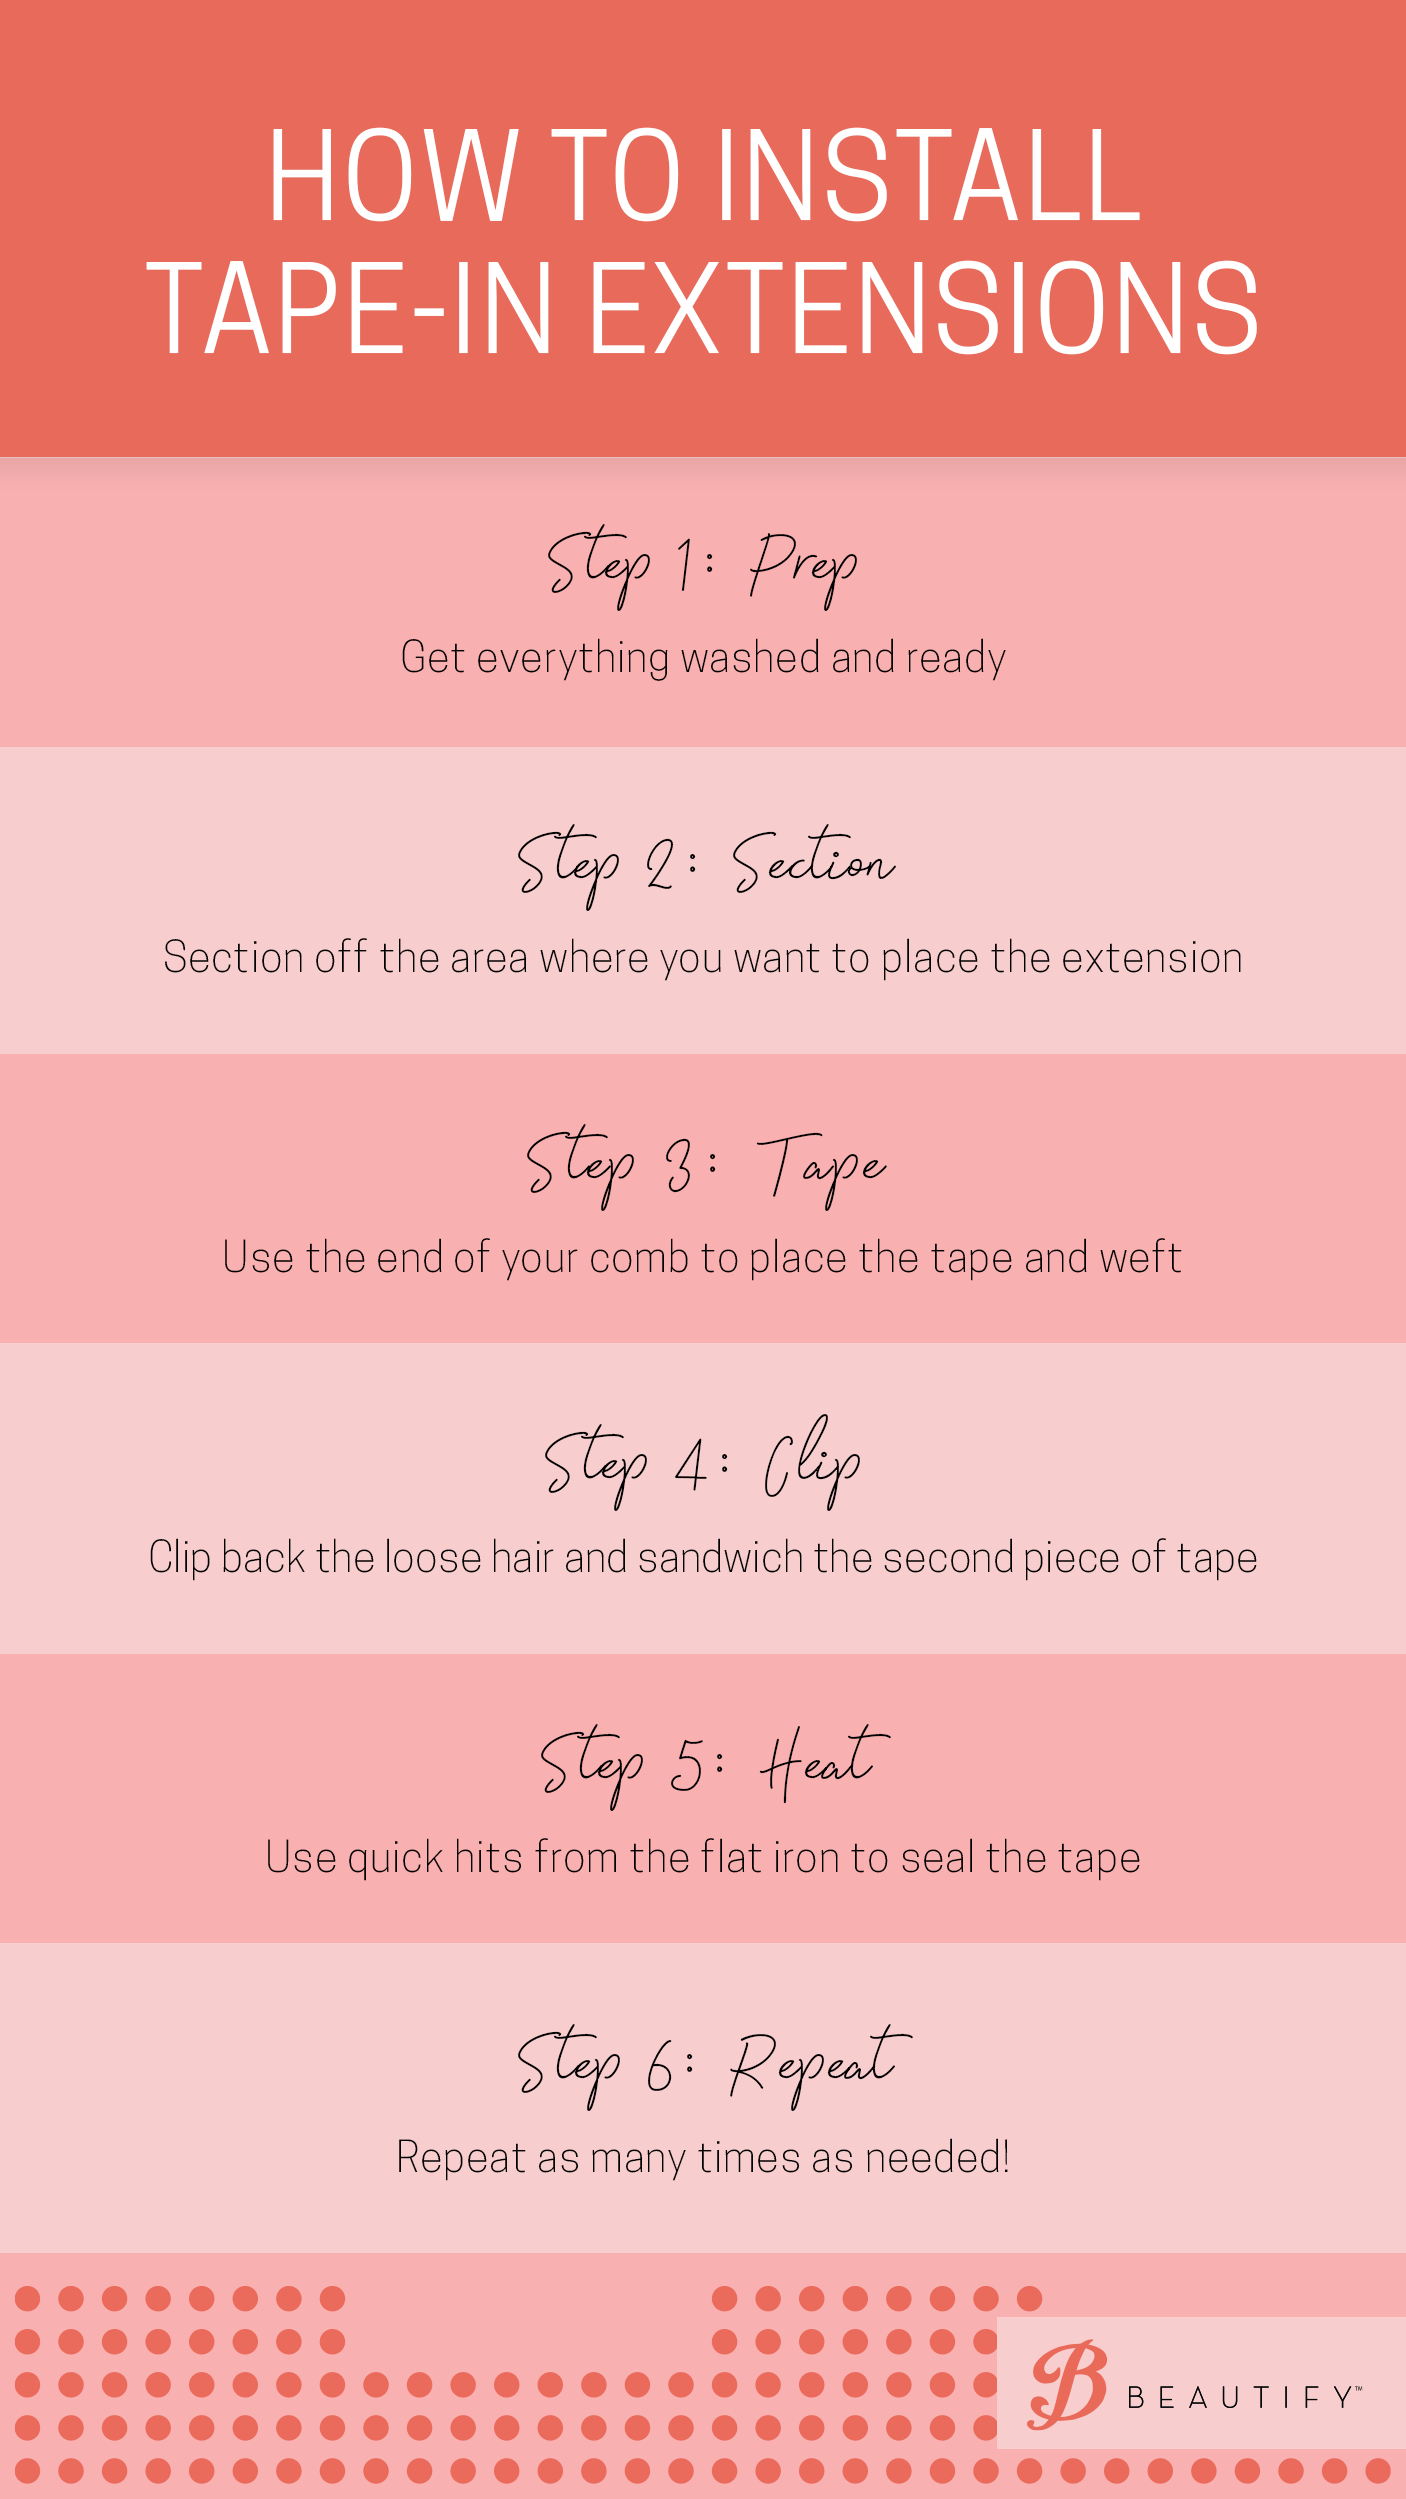
Step 1: Prep
This is the most important step of installing tape-in extensions. Without proper prep, the tape won’t stick as well, and the extensions may fall out. So, this is not a step to skip.
-
- The first step in prep is cleaning your whole workspace and your tools. Wipe them down with 99% Isopropyl Alcohol to get rid of any oils or residue that may be on them.
-
- Next, you need to wash your hands to help avoid getting any of your natural oils on the tape or wefts.
- Then you should wash the wefts and your client’s hair. For this we recommend using our Bond Breaker Shampoo. It is very strong so it should be able to clean the hair and wefts of anything that may keep them from sticking.
Make sure all of your tools and products are in reach. This process involves holding things in place with one hand and working with the other. So, you won’t be able to walk away to grab anything.
It’s also best practice to have the tape on the wefts already. Place the non-weft-facing side of one of the extensions on the handle of the comb. This way, it is ready to go and you can move quickly from section to section.
Once all of this prep has been done, you should be good to start taping in the extensions.
Step 2: Section
The next step is sectioning off the hair.
Choose where you want to start and begin from the bottom. Section off that piece of hair and make sure that there is a nice, clean horizontal line under the section.
Step 3: Tape
Hold the sectioned off piece of hair up. Then take the comb with the extension on it and put it in place.
Once the comb and the extension are where you want them, press the weft in place with your finger. Then roll the comb off the tape.
Step 4: Clip
After the weft is pressed into place, lift any hairs that didn’t attach to the tape and clip them up with the rest of the hair.
Once those hairs are out of the way, you can place the second tape extension on top of the first tape and press it firmly. Make sure that the tapes line up evenly. This is very important, because if they aren’t lined up, they can come apart and fall out more easily.
Step 5: Heat
Once the two tapes have been firmly pressed together, you can help seal them better with some heat.
The best way to do this is with a flat iron. Press the tapes between the flat iron light and fast. Don’t press on them for too long or too hard otherwise you may melt the tape or burn the wefts.
Step 6: Repeat
Start again from Step 2 and repeat as many times as needed.
Each of the extensions should be side-by-side with a distance of one cm between each of them. After the first row, you can go up one inch and start the second row, working your way up.
Following these steps carefully should help you create the Beautify Bond with your clients. This is our recommended way to use our products to keep your clients coming back. It involves proper prep and the install steps we discussed above. But there’s more to the Beautify Bond than just that.
One aspect of the Beautify Bond is giving your client the proper tips and tricks to help ensure their extensions last.
These tips include:
- Sleeping with your hair in a loose ponytail
- Waiting at least 48 hours before washing your hair or getting it wet
- Using sulfate-free shampoos and conditioners
- Holding the tape bond securely to the head while brushing
- Brushing at the bottom and working slowly up the hair
Giving your clients the best in-salon experience, followed by the tools to keep their hair looking amazing is a great way to create lifelong clients. That is what the Beautify Bond offers.
Now that you know how to install tape-ins, you’re probably looking for some good extension tape. Check out our shop page to see what we have to offer here at Beautify.
We carry both pre-cut extension tape tabs and full rolls in just about every kind of tape you could need. Like our Ultra Hold Hair Extension Tape, which is designed to be comfortable and strong.
Either way, you are giving your client some of the best tape for their extensions and bringing you closer to achieving the Beautify Bond.
If you have any questions, check out our video for a more visual guide of how to install tape-in hair extensions. If that video doesn’t answer your questions, you can also contact us. We’ll be glad to help you out however we can.
3 Comments
Leave a Comment


Muy bien explicado
Can I use your double sided tape on my extensions sticking them on my hair without adding another extension underneath? Also, Will the tape pull my hair out if stuck to my scalp? I have thin hair. Thank you!
Hello Susan!
Our recommendation would be to consult with a professional hair stylist who can help you install your extensions without causing damage to your bio hair. You can find a salon near you using our Find a Salon/Distributor resource.
Double sided extension tape is meant to be sandwiched between two extension wefts, so we recommend using single-sided tabs when only using one extension weft. The tape should not be stuck to the scalp after a proper installation, and it also should not pull the hair out if it’s installed and removed properly.