

Weft Release Is Your Saving Grace When It Comes Time to Retape Hair Extensions
While we take you through seven steps below, the key to retaping hair extensions mainly comes down to two words: Weft Release.
Weft Release helps you quickly remove tape from wefts and gets them ready to be retaped. It works by breaking down all the adhesive, which cleans your weft’s surface and gets it in the best shape for new tape.
Its oil base is safe for all color and extension types. Also, we’ve made Weft Release to be low residue in comparison to other oil-based removers out there. So, it rinses easily when coupled with Extension Prep Shampoo.
Considering how many extensions you need to retape on a regular basis, we’ve also made Weft Release conscious of your salon’s budget. In fact, we’ve made sure that Weft Release is your most cost-effective remover for retaping extensions.
While some products don’t have the most pleasant smells, Weft Release brings a summertime fragrance to your salon with its fresh, melon scent.
Weft Release is also currently unavailable in California. So, for those of you in the Golden State, we recommend using our golden remover: C-22. Like Weft Release, C-22 is also oil-based, comes with a pleasant scent, and breaks down tape gunk quickly!
Conveniently add either of these great removers to your shopping cart today!
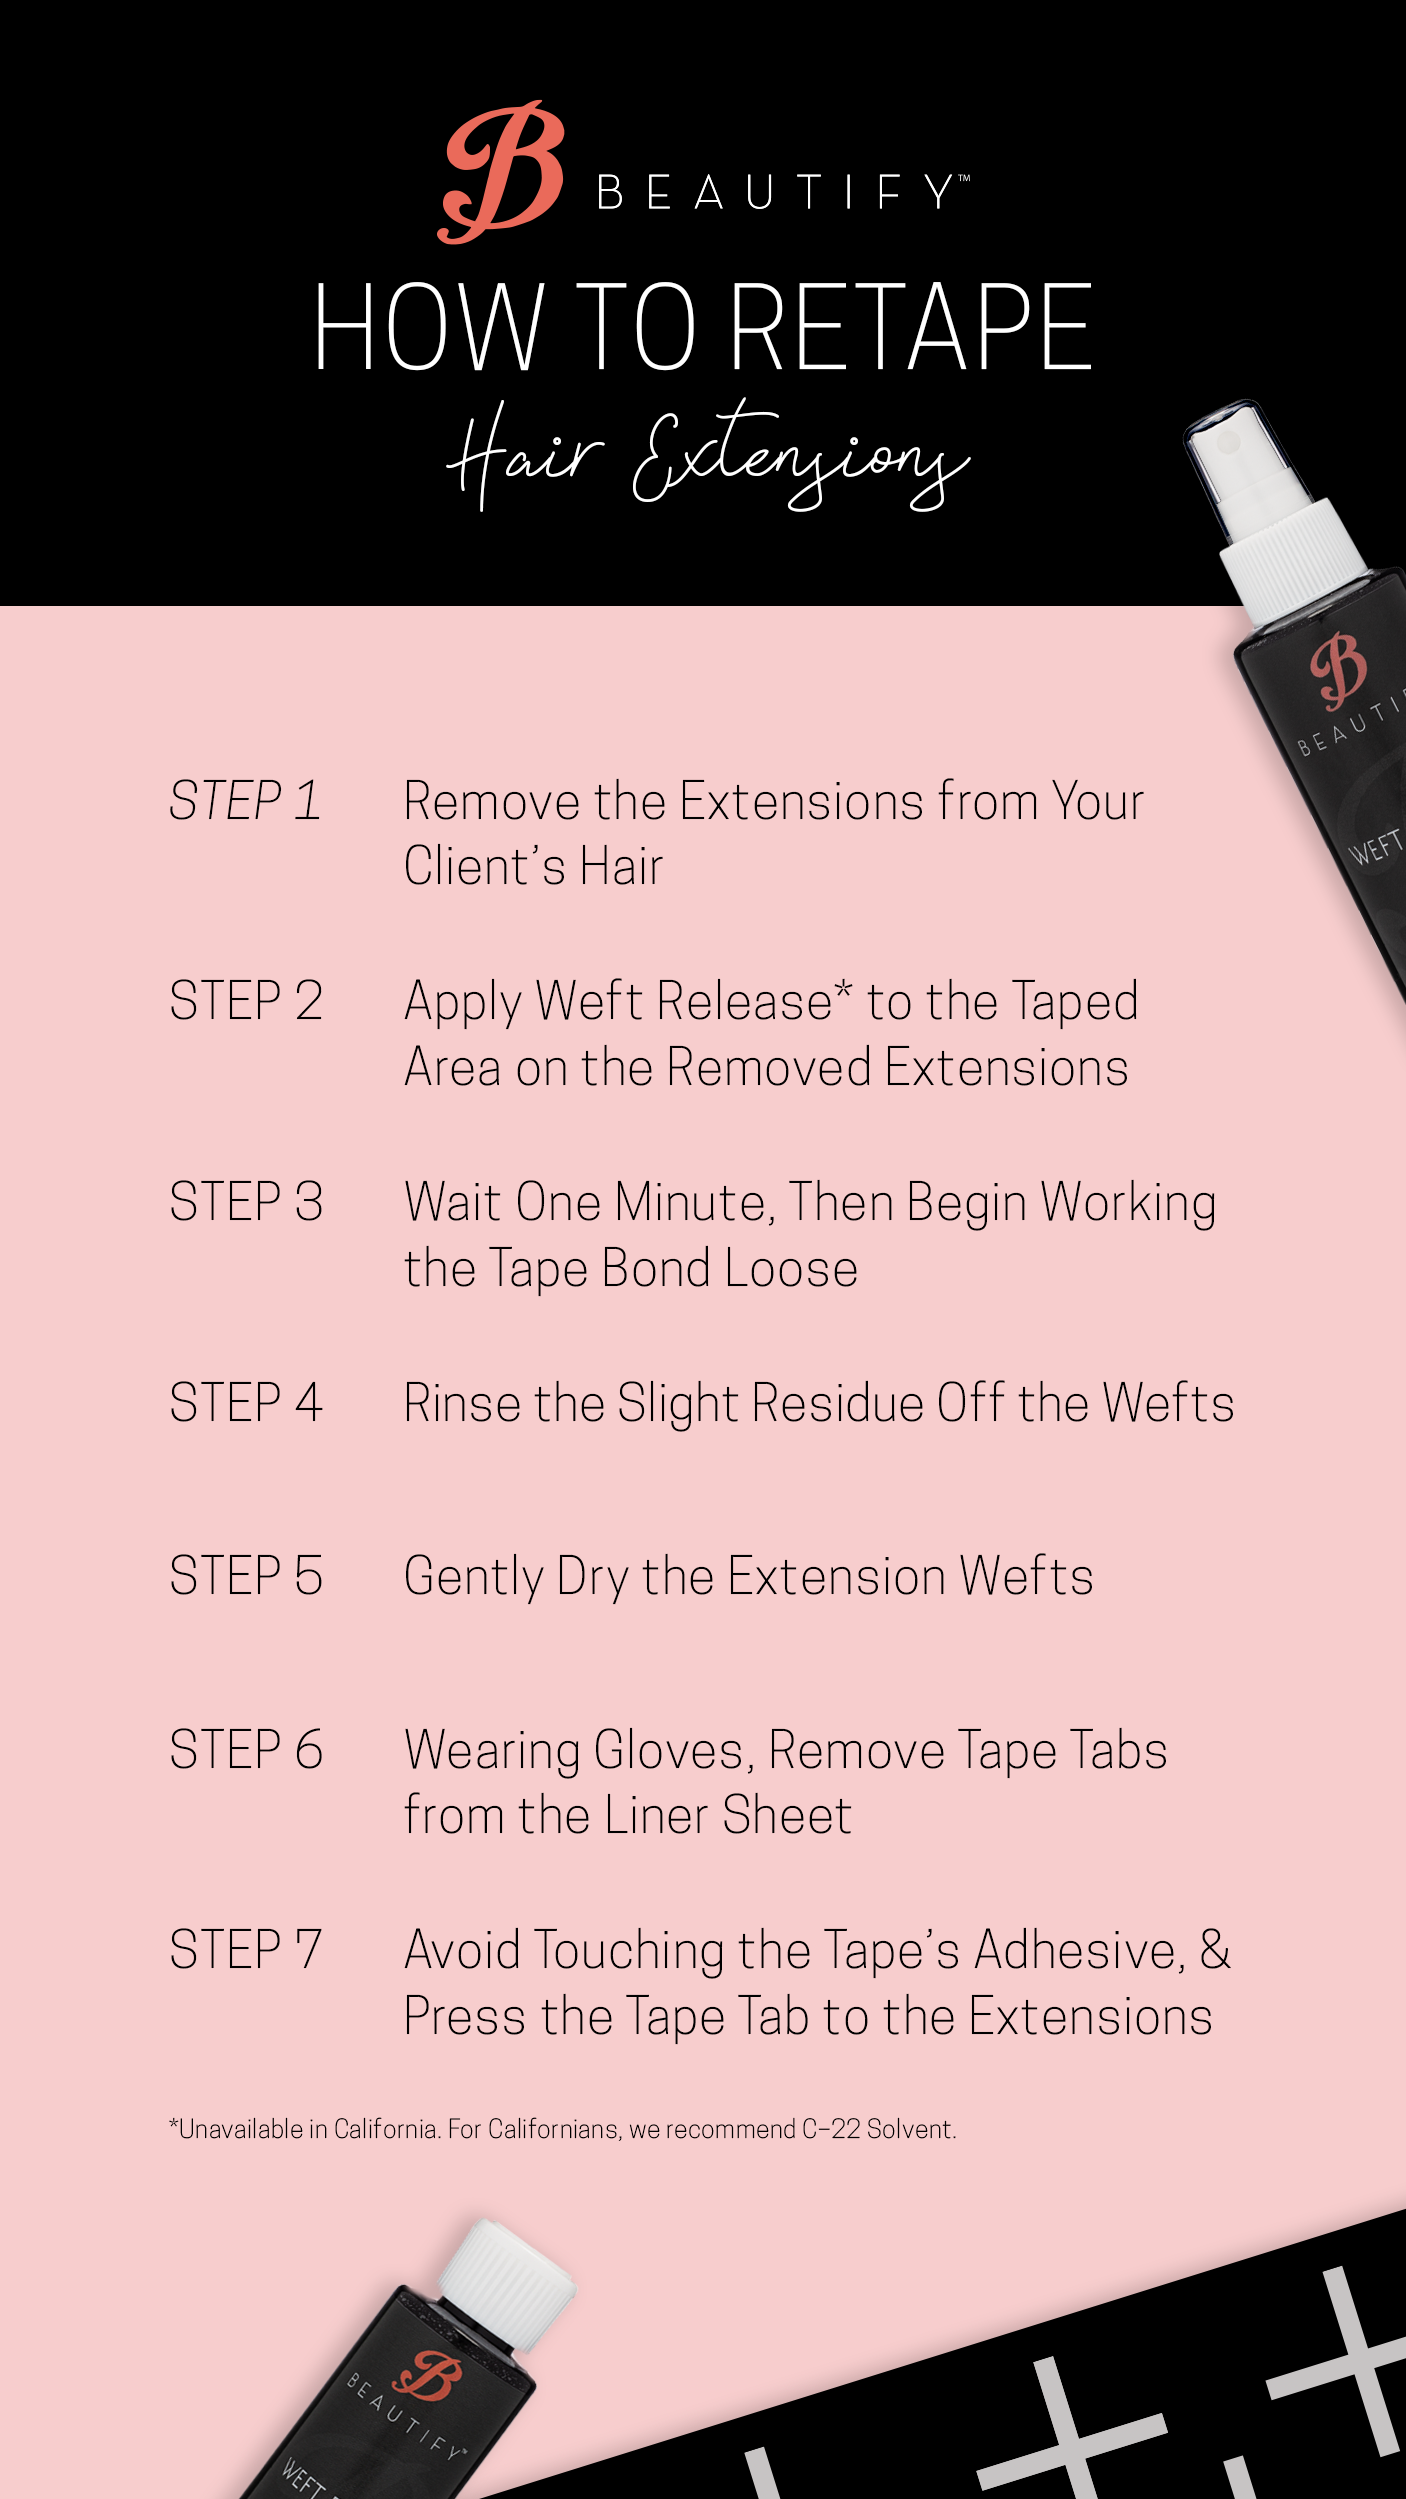
Step 1: Remove Extensions from Your Client’s Hair
We recommend using our Beautify Bond method when it comes to removing tape-ins. Our most popular removers for helping you get extensions out of your client’s hair are Extension Release and No Trace.
To keep the extensions clean of skin oils, we always recommend wearing gloves when working with clients. Gloves also help minimize that amount of product that your skin has to deal with on the day-to-day.
Step 2: Apply Weft Release to the Taped Area on the Removed Extensions
Once you’ve freed the extensions from your client’s hair, it’s time to add a little bit of Weft Release to the taped area on the weft. It’s called Weft Release for a specific reason: it’s what we consider to be the best option for releasing tapes from the extensions themselves.
Step 3: Wait One Minute, Then Begin Working the Tape Bond Loose
To minimize the wait time, consider applying several, if not all of the removed extension wefts at once with Weft Release. By the time you apply Weft Release to the last of the extensions, the first ones will be ready to be removed.
Step 4: Rinse the Slight Oily Residue Off the Wefts
We recommend using our Extension Prep Shampoo and water to ensure the wefts are as clean as they can be to be retaped. Since Weft Release leaves behind less oily residue than a lot of other oil-based removers, this rinse should be quick and easy!
Step 5: Dry the Extension Wefts
If the wefts are wet, then that will affect the tape’s hold times. What makes Weft Release work so well is that it clears the surface of the weft to be ready for new tape. However, if the surface is wet, then the tapes will be trying to stick to the wet surface instead of the weft itself.
This is why it’s so important to make sure the wefts are completely dry before retaping.
Step 6: Wearing Gloves, Remove Tape Tab from Liner Sheet
At the risk of sounding like a broken record, make sure to wear gloves. Gloves protect the wefts and the tape from collecting any unintentional skin oils or cells.
Even with gloves on, try to avoid touching the exposed adhesive on the tape as much as possible. We’ve made our tapes using powerful acrylic adhesives that hold strong to whatever they touch. So, if a glove interacts with too much of the adhesive, then we run the risk of accidentally sticking tiny residues from the glove onto the tape.
Trying your best to avoid touching the adhesive helps ensure the best possible hold times for the tape.
Step 7: Press Tape Tab to Extensions
In the beautify industry, Beautify tapes are known as hair extension tapes. But in the tape world, they are technically referred to as “pressure-sensitive adhesives.” While not exactly a clever or cute name, we must admit, it is clearly descriptive.
What it means is simply the tape begins to grow a strong bond the moment pressure is applied. Give the tapes a firm press to the weft, a little tough love, and they should be ready to go!
More Resources Available to Help You Retape Hair Extensions
This process of retaping extensions requires a lot of patience and dedication on your part. To help you the best we can, we’d like to end this blog post with more resources we’ve created that you might find helpful:
- Achieving the Beautify Bond with 1st-Time Clients
- Achieving the Beautify Bond with Returning Clients
- Our Bestselling Remover & Extension Tape Pairings
- How to Work with Custom Extensions (Including working with Extension Tape Rolls!)
Have any more questions about this process? Reach out to our amazing Customer Service team!
2 Comments
Leave a Comment


Do you put the tape on the slick or rough side?
Hello Stephanie! If you look at the weft closely, there should be a small indication of what side that the hair is attached to and where there is a barrier layer. The tape should be applied to the side of the weft that has more of a texture, or the side of the weft that the hair is not attached to. Please contact our Customer Service team if you have any further questions. If you’re not a licensed hair stylist, remember to consult a professional so that they can help you decide on the best installation process. If needed, you can find a stylist in your area here. Thank you for reaching out, and I hope one of these options works for you!